I found myself a lot of times in the situation where my Ubuntu desktop throws the nasty notifications about low space.
Even though I normally have more than enough space on the hard-drive, sometimes I install all kind of programs and use node/npm packages that fill-up the hard disk space very quickly, so I have to do these cleaning actions once in a while.
As I presume there are a lot of people in the same situation, I thought it might be helpful to publish this little article with the actions and tools I use to solve this problem.
Before all, check the free space on Ubuntu
First of all, we need to actually check how much free space do we have on our Ubuntu machine.
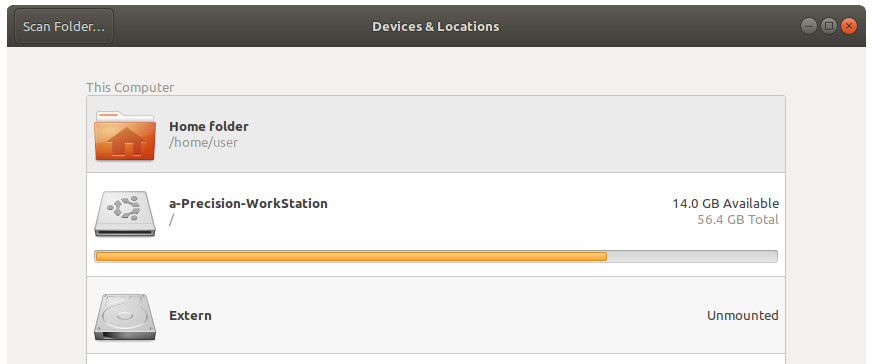
This is quite easy on Ubuntu. Just use the Disk Usage Analyser tool. It should be installed by default, so search it in the menu and run the tool. You should see the disk space used and the free space remaining in here:

Now that we know the state of free space on your disk, it’s time to clean up the system and conquer some free space.
1. Get rid of packages that are no longer required
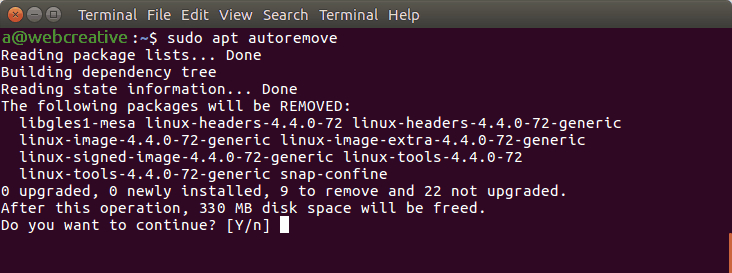
We can use the apt-get linux command with the ‘autoremove’ option to clear some unused packages.
This option removes packages and libraries that were installed automatically to satisfy the dependencies of an installed package. If an installed package is removed, these automatically installed dependent packages are useless in the system.
It also removes old Linux kernels that were installed from automatically in the system upgrade.
This is a simple command that you can run once in a while to get some free space on your Ubuntu system:
sudo apt-get autoremove

2. Clean up the APT cache in Ubuntu
Ubuntu uses APT (Advanced Package Tool) to install, remove and manage the software on the system and in order to do that it keeps a cache of all the downloaded and installed packages even after they’ve been uninstalled.
The APT package management system keeps a cache of DEB packages in /var/cache/apt/archives. Over time, this cache can grow quite large and hold a lot of packages you don’t need.
We can see the size of this cache with the du command:
sudo du -sh /var/cache/apt
A very useful command for this is the package ‘autoclean’. What autoclean does is remove partial packages from the system. To use autoclean type the following command in a terminal:
sudo apt-get autoclean
Then you can use the package ‘clean’ command. What this command does is to clean remove .deb packages that apt caches when you install/update programs. To use the clean command type the following in a terminal window:
sudo apt-get clean
3. Uninstall unnecessary applications
All of us need some entertainment outside of the professional activity, so we keep installing all kind of applications that at some point we forget about or we don’t need anymore.
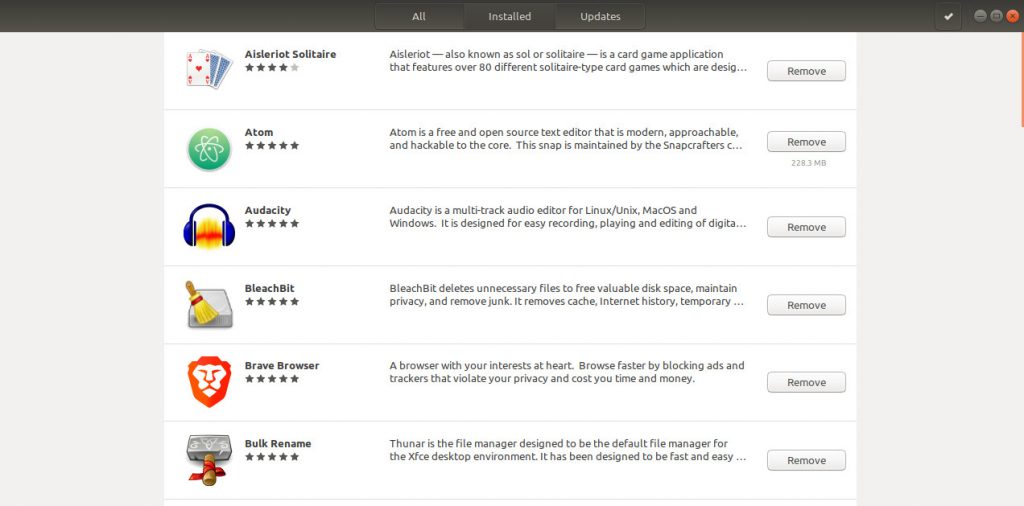
Use the Ubuntu Software Center to see all the currently installed apps and uninstall/remove the ones you don’t need or you know you barely use.

You can also remove a program by package name in terminal using the command below with particular app name (e.g. replace ‘package-name-1’ with the package name you want to remove):
sudo apt-get remove package-name-1 package-name-2
4. Clear the Systemd journal logs
Ubuntu, like every other Linux distribution, has a logging mechanism that allow you to investigate what’s going on in your system. There are kernel logging data, system log messages, standard errors and output for various services in Ubuntu.
The issue is that in time, these logs can take a great amount of disk space. You can check the log size with this command:
journalctl --disk-usageThere are multiple ways to clean systemd journal logs. The easiest is to clear the logs that are older than a certain number of days.
sudo journalctl --vacuum-time=5d